You may not pay abundant time puzzling over attic ventilation, however if you own your own residence, you owe it to yourself to provide the topic serious thought. Inadequate emission ends up in high attic temperatures which will cut back comfort, raise utility bills and shorten the helpful lifetime of roofing materials. the great news is that adding a couple of vents nearly always solves the matter. And for even larger effectiveness, you may take into account putting in associate degree exhaust fan, as well.
These cheap fans ar thermostatically controlled so that they run only if they are required. after you take into account that attics will reach a hundred and fifty degrees F, which attic heat accounts for twenty % of the common cooling bill, these fans ar an honest investment. Most will be put in for around $100. Attic-ventilation fans are offered with humidistats furthermore as thermostats. A humidistat-equipped fan may be a good selection for dominant excess attic wetness throughout the colder months.
Ventilation Basics
Before running resolute purchase associate degree exhaust fan, take a while to examine the present attic ventilation on your house. whereas the sort and variety of vents can vary looking on the particular roof style, house location and quantity of direct sun, a minimum emission system ought to have one sq. ft. of roof vent space for each three hundred sq. ft. of attic space.
When it involves vents, additional is healthier, and each vent mounted high on a roof desires a counterpart on the lower roof, sometimes below the overhang within the side. With this arrangement, hot air rising through the higher vents can pull cooler air into the attic through the side vents. while not side vents, it's like attempting to cool down your home by gap the windows on just one facet of your house.
Common signs of a very hot attic ar asphalt shingles with corners curled, or bulges within the felt and shingles directly over the seams within the protective covering. On cold winter days, rummage around for frost within the attic. This frost is cornered wetness, which, if not allowed to flee, will rot the complete roof.
And finally, check your existing side vents to create positive they are not clogged with junk. On hot days, the air movement through these vents is powerful enough to drag light-weight seeds from trees and bushes right into the vent screens. Clogged vents can have to be compelled to be cleared if your new fan is to figure properly.
Choosing Your Fan
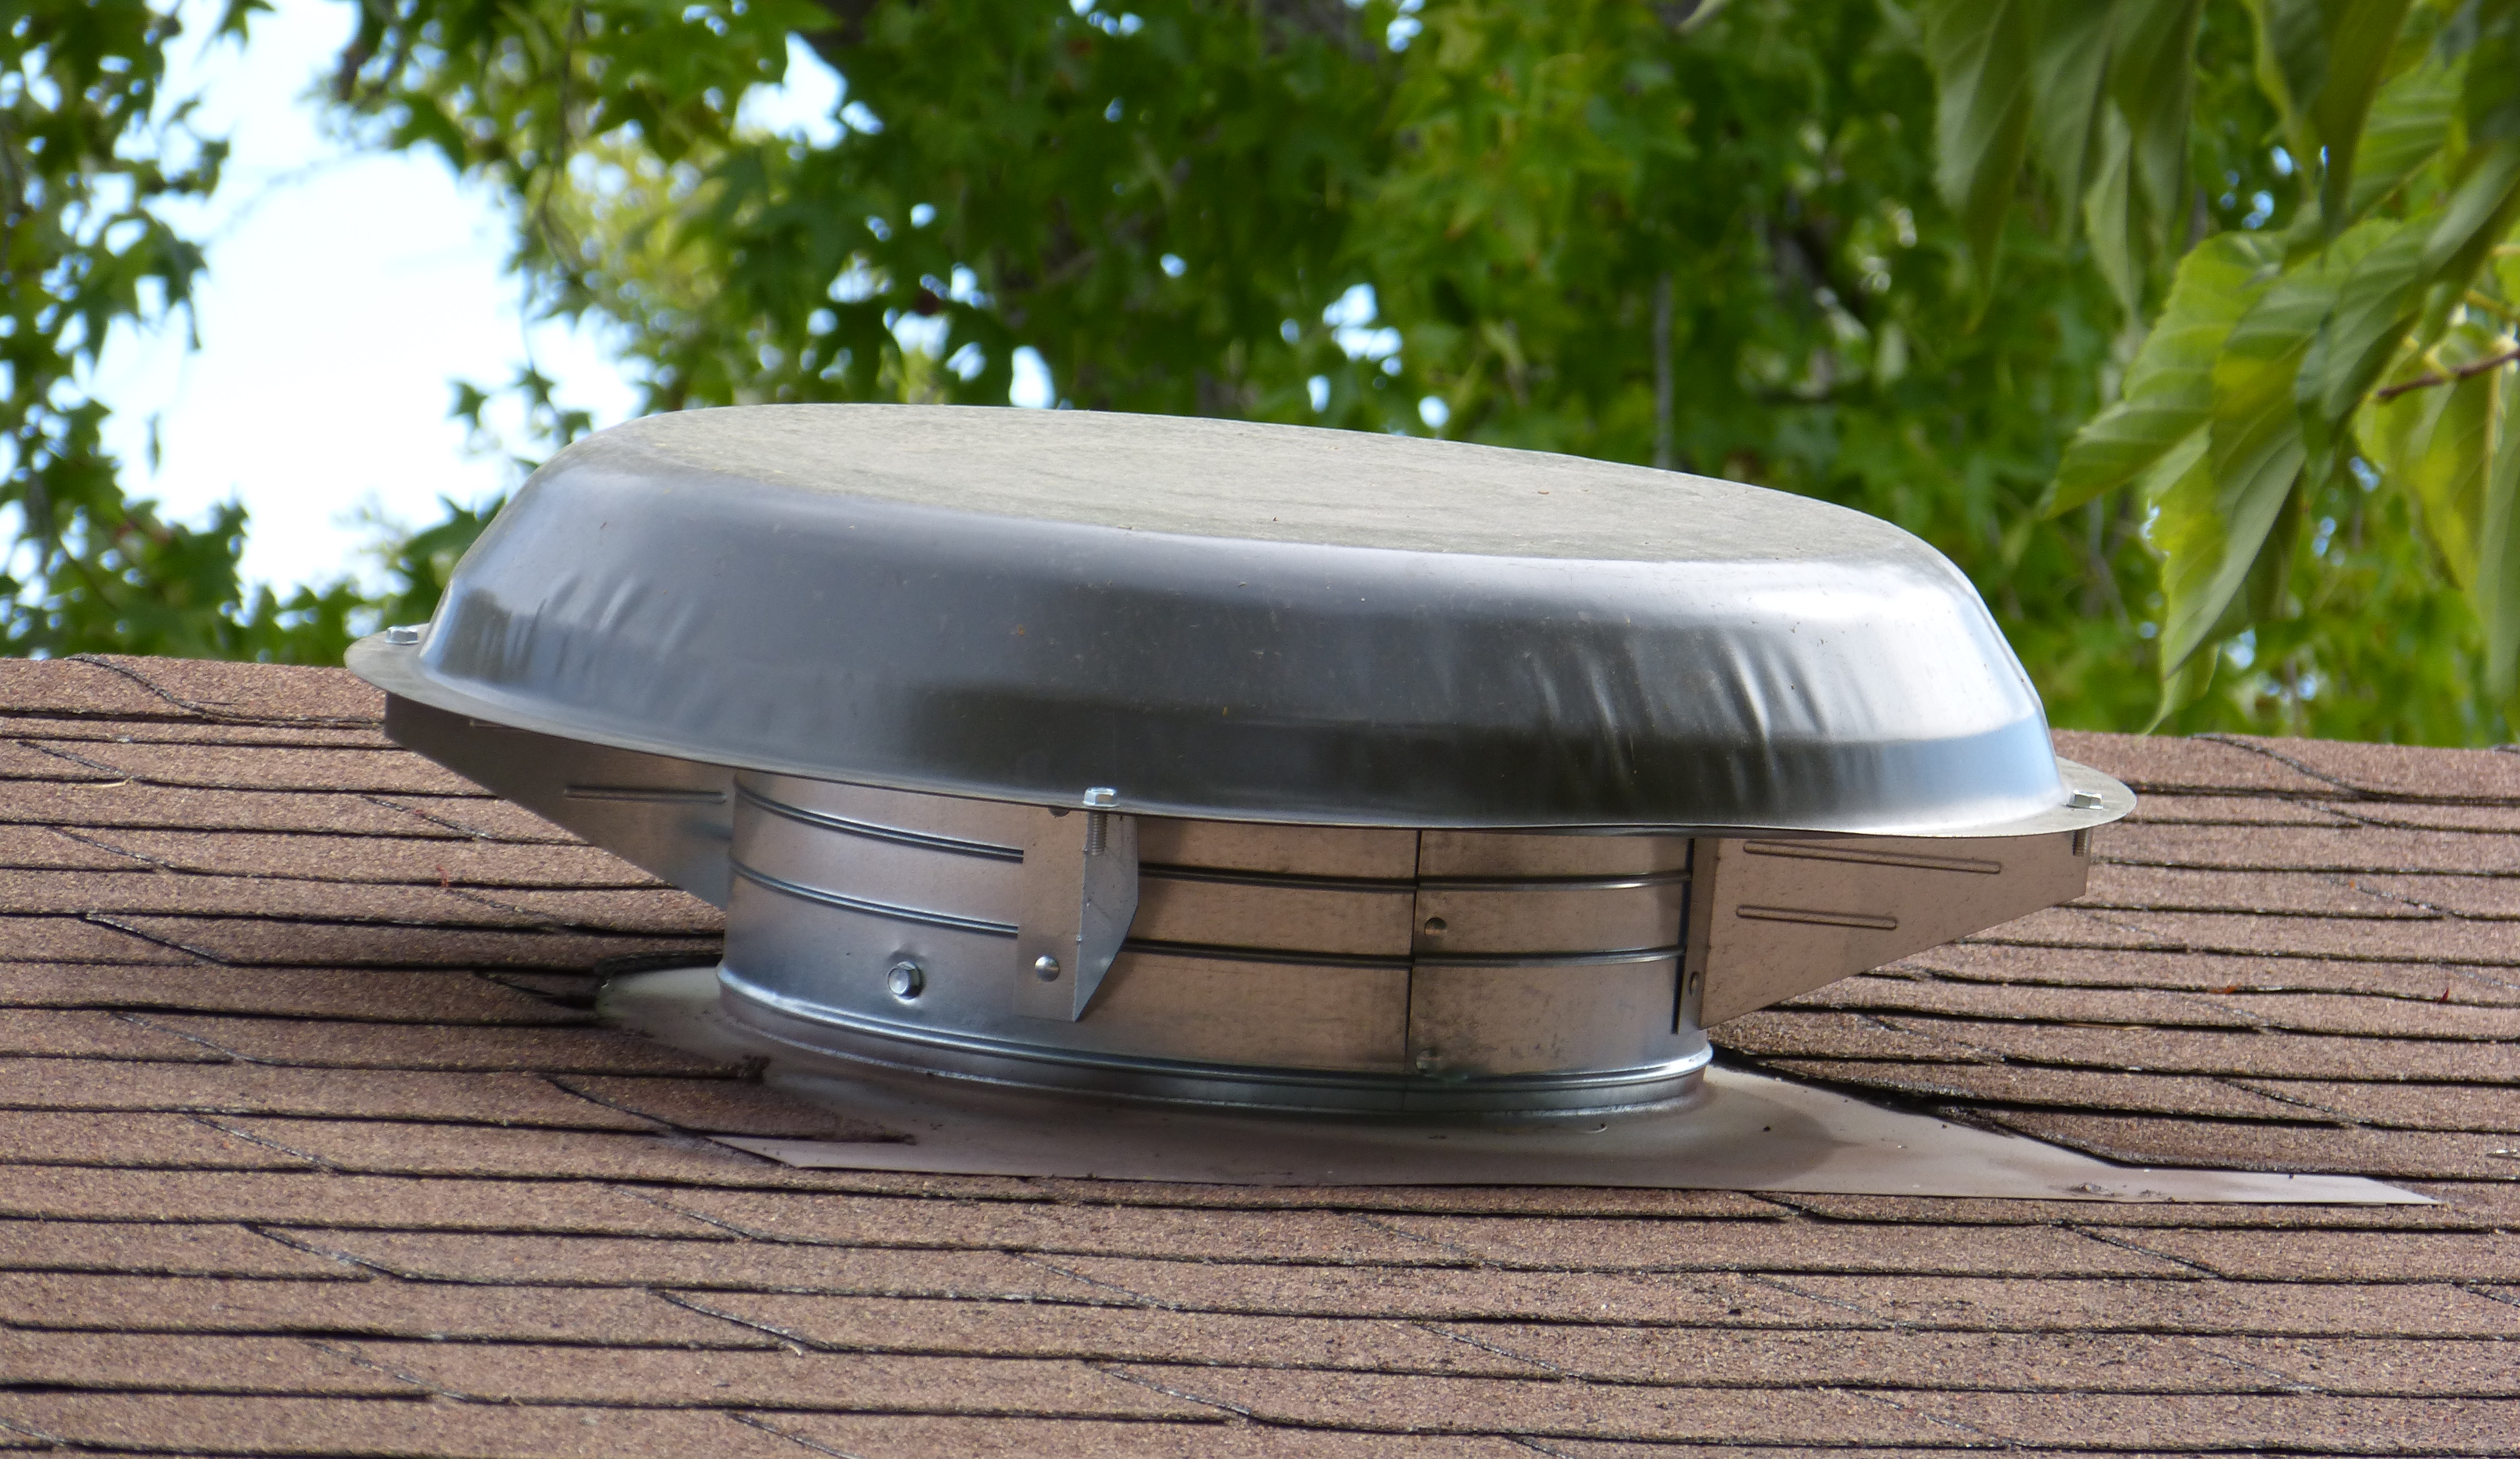
There ar 2 basic exhaust fan designs: those created for roof installations and people supposed to be mounted in a very wall. Roof fans ar mounted on plastic or sheetmetal bases that function flashing. merely cut a gap within the roof, usually close to the height, and install the fan over the gap. Then shingle on top of and round the flashing even as you'd for a regular roof vent or plumbing stack.
In our case, we have a tendency to selected a gable-wall fan that was slightly easier to put in as a result of no shingles had to be disturbed. In fact, we have a tendency to merely put in our fan in situ of associate degree existing gable vent. we would have liked to enlarge the gap a bit to accommodate a rather larger, automatic shutter, however it had been still a reasonably easy job, requiring no structural alterations. If your existing vent is giant enough, you will not have to be compelled to replace it. simply mount the fan directly behind it.
We selected a Whisper Cool fan (Model WCGA) created by CertainTeed (CertainTeed Ventilation, 3000 W. Commerce St., Dallas, Texas 75212; web.certainteed.com). The fan is guaranteed for 5 years, attracts a mere three.2 amps associate degreed is capable of handling an attic space up to 1500 sq. ft. Its thermostat is put in in a very management box and is prewired.
We paid concerning $40 for the fan, and concerning $30 for associate degree Attic Aire River automatic shutter, additionally created by CertainTeed. This plastic shutter remains closed against the weather till the fan blows it open. you may additionally want calk, a couple of electrical things and a chunk of 1/2-in. plyboard on that to mount the fan. Read More in this blog.